Working with Remote Repositories
10 minutesModule: Working with Remotes
Now that you’re comfortable working with a local Git repository, the next step is learning about remote repositories.
A remote is a copy of your repository stored elsewhere than your own machine – for example, on a server at your institution or in the cloud.
Working with remote repositories offers numerous benefits, whether you work on your own or as part of a team:
- You’re storing your entire project history somewhere more reliable than your local machine, which can fail, get lost, or be damaged.
- You’re making your work more accessible to others, so they can possibly understand it better, reproduce your results, run all or part of your code on their own data, or build on what you have done.
- Collaboration becomes much easier, whether that’s working with a co-author today or opening your project up to the wider community down the line.
In this lesson, we’ll cover the basics of managing remote repositories, which begins at adding a remote repository. While Git lets you add more than one repository, we’ll focus on adding a single remote in this lesson.
Adding a remote Git repository
To add a remote Git repository to your local Git repository, run the command git remote add <name> <url>, where:
<name>is the label you choose for your remote repository.<url>is the URL of the remote repository you have already set up somewhere, for example on GitHub, GitLab, Codeberg, or a server at your institution.
You can choose any name you want, but common examples include:
- origin, as in where the repository originated from – this is also what Git calls a remote repository you clone from.
- upstream – typically used when your repository flows from (is derived from) another one.
Origin is a good default for your main repository, unless your team or institution has specific guidelines.
Setting up a remote repository
Setting up a remote repository generally involves:
- Creating an account on a hosting service, e.g., GitHub, if you don’t have one already.
- Creating a new empty repository on that service by giving it a name.
- Copying the URL it gives you, so you can use it in your
git remote add.
This is a standard workflow when you have a local repository you’ve initialized with git init and you want to connect it to a remote. It is worth noting that this is not how most people start.
Cloning an existing repository
The more common workflow does share the same first two steps: creating an account on a hosting service if you don’t have one already, and creating a new empty repository on that service by giving it a name. But, instead of using git remote add, you use git clone <url> in the CLI on your local machine, to copy the remote repository to your local machine.
Cloning creates a local copy of the repository and automatically sets up the remote for you. This creates a .git directory – similar to what happens when you initialize a local repository with git init. Depending on how the remote was set up, you may also have some initial content like a README, a LICENSE, or a .gitignore file.
To verify we added our remote called origin successfully, we can run git remote, which should print the name we specified for our remote:
>git remote
Origin
This confirms Git now knows about our remote connection nicknamed origin. If we had multiple remotes configures, git remote would list all of them – one nickname per line.
Pushing to a remote
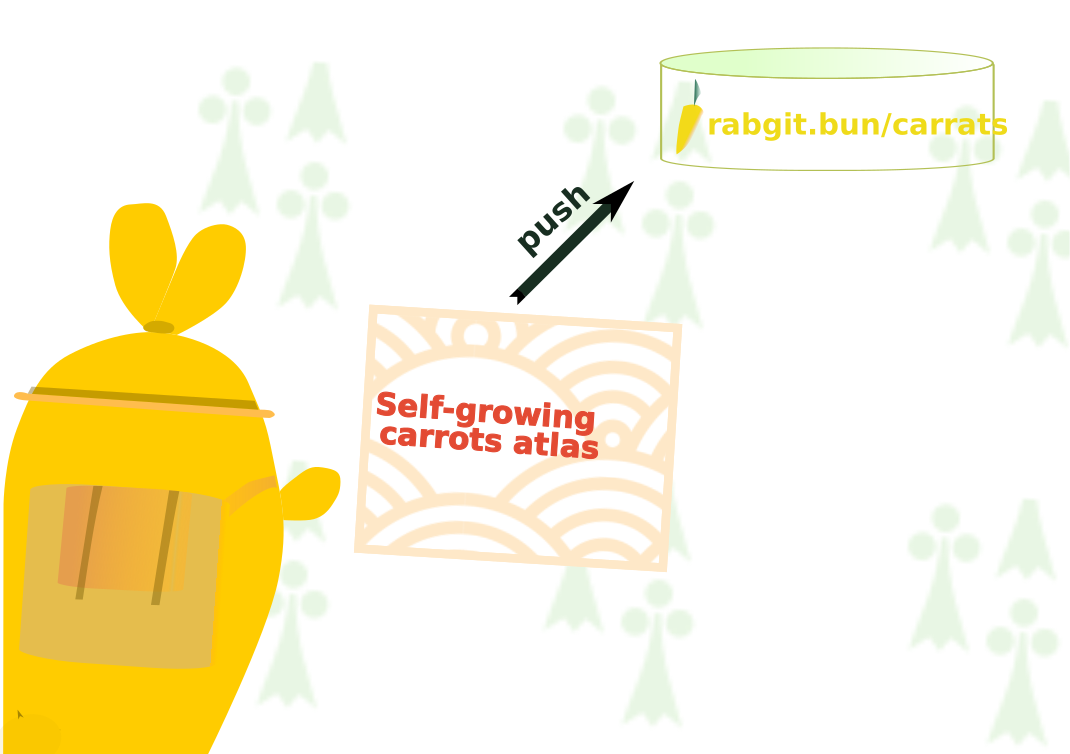
It is important to note adding a remote will just tell Git where this remote is. Our commits and history will only get saved remotely once we actually push – until then, everything exists only on our local machine.
The command for pushing our local commits upstream to our remote is simple: git push <name-git-gives-to-our-remote> <our-local-branch-we-push-from>, which in our case becomes:
> git push origin mainOnce we’ve pushed successfully for the first time, it’s enough to run just git push and Git will push to the same remote automatically.
Since we’re the only ones working on this repository, the git push command should work without any issues. If you’re collaborating with others, your push might be rejected if someone else pushed new changes before you – this is Git telling you your copy is outdated and needs updating, lest you accidentally overwrite someone else’s work. We’ll be covering this in detail in another course.